
Enhance Your Features


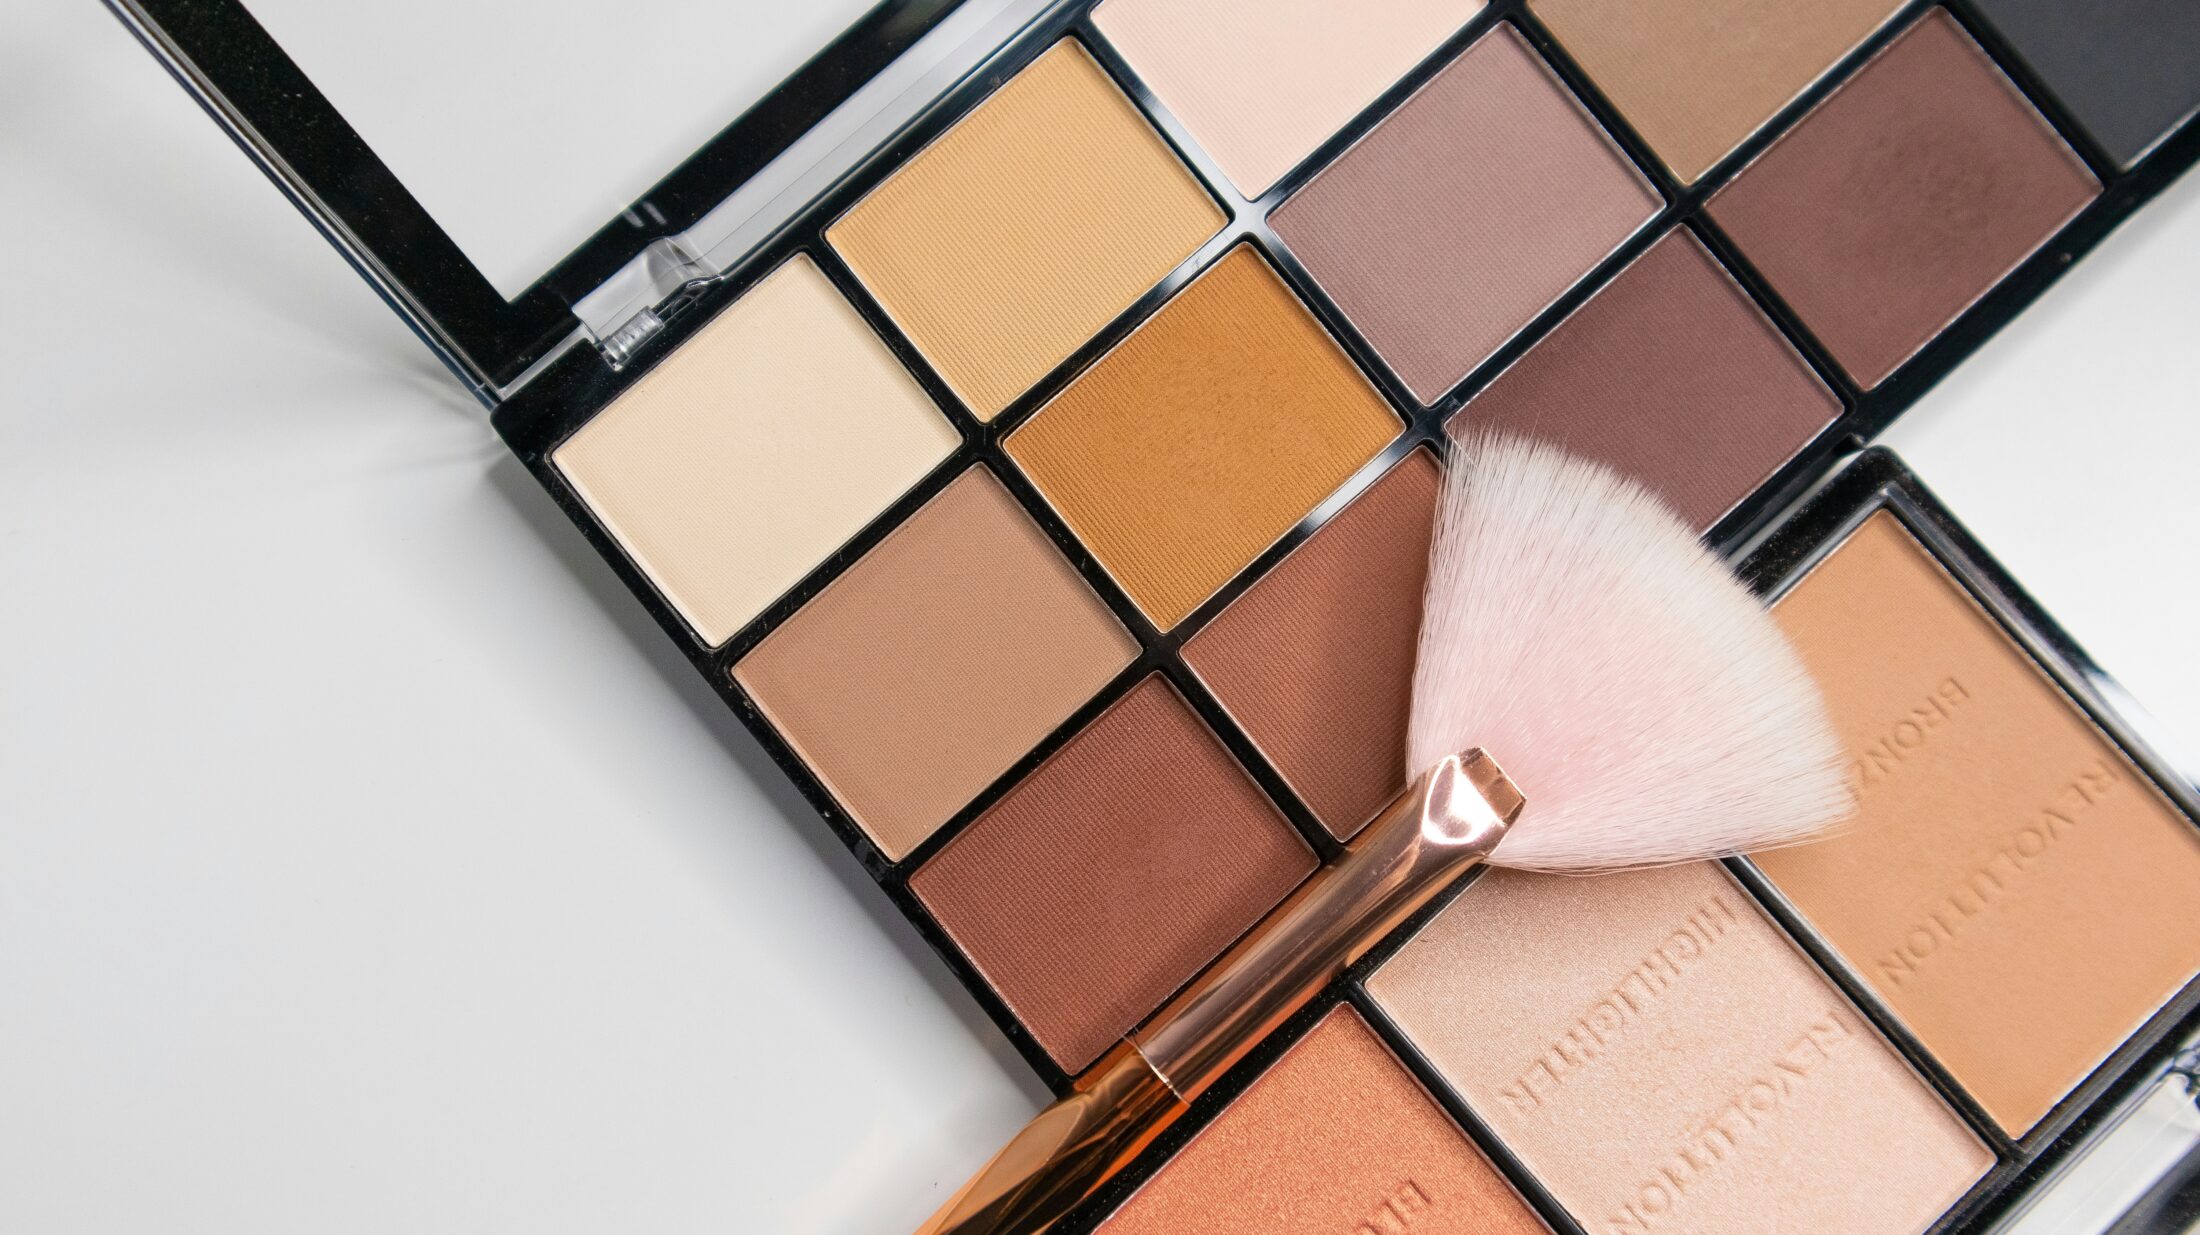
Contouring has become a staple technique in the makeup world, allowing individuals to sculpt and define their facial features for a more sculpted and polished look. While powder products have traditionally been favored for contouring, cream products offer a versatile and natural-looking alternative that seamlessly blends into the skin. In this comprehensive guide, we’ll explore the art of contouring with cream products, covering everything from product selection to application techniques, so you can achieve a flawless contour like a pro.
Contouring involves using makeup to create shadows and highlights on the face, enhancing bone structure and creating the illusion of dimension. Cream contour products, such as cream contour sticks or palettes, offer a creamy, blendable formula that adheres to the skin for a seamless finish. Unlike powder products, which can sometimes appear dry or cakey, cream products melt into the skin, creating a natural-looking contour that mimics the appearance of real shadows and highlights.
When choosing a cream contour product, it’s essential to select shades that complement your skin tone and undertone for a natural-looking finish. Opt for a contour shade that is one to two shades darker than your natural skin tone to create shadows and add dimension to the face. Look for contour products with cool or neutral undertones, as these shades mimic the natural shadows of the face.
For highlighting, choose a cream product that is one to two shades lighter than your skin tone to brighten and lift the high points of the face. Highlight shades with warm or neutral undertones work best for most skin tones, as they add warmth and radiance without appearing too stark or ashy.
Before applying cream contour products, it’s essential to prepare your skin to ensure a smooth and seamless application. Start by cleansing and moisturizing your skin to create a hydrated and nourished canvas. Apply a lightweight foundation or tinted moisturizer to even out your complexion and provide a base for the contour products to adhere to.
Now that you’ve prepped your skin, let’s dive into the application techniques for contouring with cream products:
Once you’ve applied and blended your cream contour products, take a step back and assess your overall look. Use a clean makeup sponge or brush to blend any harsh lines or edges for a flawless finish. If necessary, use a setting spray to lock your makeup in place and provide a natural, dewy finish.
In conclusion, mastering the art of contouring with cream products allows you to sculpt and define your facial features for a more polished and sculpted look. By choosing the right shades, prepping your skin, and mastering application techniques, you can achieve a flawless contour that enhances your natural beauty. Whether you prefer a subtle, natural contour or a more dramatic sculpted look, cream products offer versatility and blendability for seamless results every time.
Sustainable Shades For many DIY enthusiasts and design aficionados, a fresh coat of paint is…
Cruelty-Free Solutions for a Healthier You Chronic inflammation can be a relentless foe, disrupting our…
Unleashing Your Brain's Potential In today's fast-paced world, maintaining sharp mental focus and cognitive agility…
Exploring DIY Organic Makeup Fixers For the eco-conscious beauty enthusiast, the quest for flawless makeup…
A Sensitive Exploration The clean beauty movement has taken the beauty world by storm. Consumers…
Taming the Mane Frizz – the bane of smooth hair dreams. It can transform a…
This website uses cookies.