
Plus, demystifying this ancient East Asian tradition and its benefits for your skin!
 First it was the jade rollers. And now the facial gua sha technique is reaching new levels of popularity. Gua sha is yet another new beauty treatment that’s being “rediscovered” from ancient Chinese and Southeast Asian medicine. That’s how obsessed our generation is with skin care. But before you jump on that trend train and add this new beauty gadget to your daily routine, it’s best to understand how it works so you’re not doing more harm than good to your skin.
 What’s a gua sha facial?
A gua sha facial is a facial given with a gua sha tool. First of all, a facial is a kind of cosmetic treatment involving deep cleansing of skin, acne extraction, facial massage, or steam treatment. It can involve something as simple as your own home DIY facial treatment, or an hour long session at a spa involving microneedling. A gua sha is the process of using a tool to literally scrape skin to induce a small amount of bruising, with the goal of encouraging blood flow to the skin that may improve skin repair and healing.
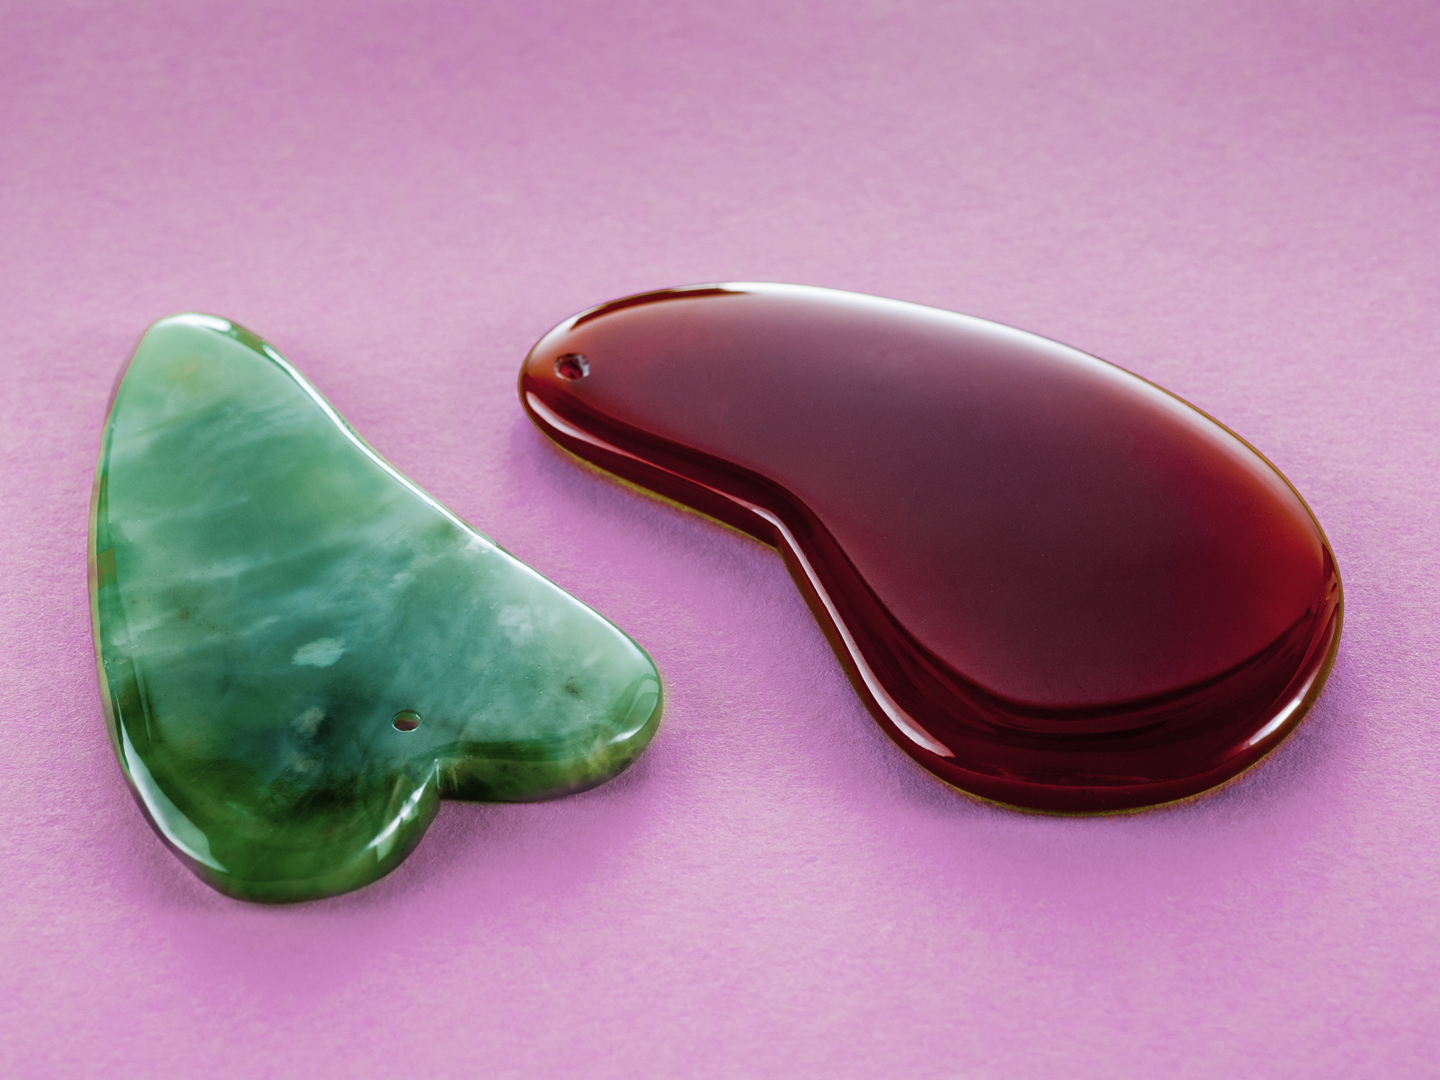
Historically it was used in traditional Chinese medicine on skin around your body, and the pictures you see of it might be a little gruesome. But the gua sha facial known today is a more gentle form of sweeping a curved piece of jade or rose quartz that’s supposed to match the contour of your face.
What are the benefits of a gua sha facial?
A gua sha facial has been touted as encouraging blood circulation and lymphatic drainage. The idea is that the sweeping motion is supposed to boost circulation for glowing skin, as well as remove toxins for a clearer complexion. Ever had a good night of sleep and noticed how rosy and radiant your face looks? That’s because your blood circulation were at high levels, promoting skin generation and blood flow. Ever struggled with eye bags or puffy eyes? That’s fluid retention right there that leads to that less than stellar appearance. These sweeping motions of a gua sha are supposed to help relax skin, improve skin tone, and enhance skin elasticity.
Of course, every new beauty techniques comes with its pitfalls too. When used improperly or overused, a gua sha can lead to damaged skin. Make sure to perform gua sha techniques gently on your skin, and still keep up with a healthy diet, exercise, and sleep for best skin results.
How do I start?
Performing your first gua sha facial is as easy as acquiring two necessary elements: a gua sha tool and a facial oil. Gua sha tools are typically made out of rose quartz, jade, or any kind of smooth stone. Select whatever vibes with you, and preferably one that suits the natural contour of your face. For an easy basic facial oil, you can start with jojoba oil (friendly for all skin types, including acneic and oily skin) or rosehip oil (for anti-aging purposes).
Gua sha facial techniques
- First, let’s start with the basic techniques of holding and using a gua sha tool on your face. For the most gentle application, hold your gua sha tool with three fingers as you would hold a pencil. Hold it at a 30 degree angle against your face, and gently brush it against your skin.
- Always begin your facial with freshly cleansed skin. Gently pat a facial oil or moisturizer into your face and neck to provide the necessary slip for your gua sha tool.
- Relax your face muscles as much as possible so your gua sha facial isn’t working against your skin.
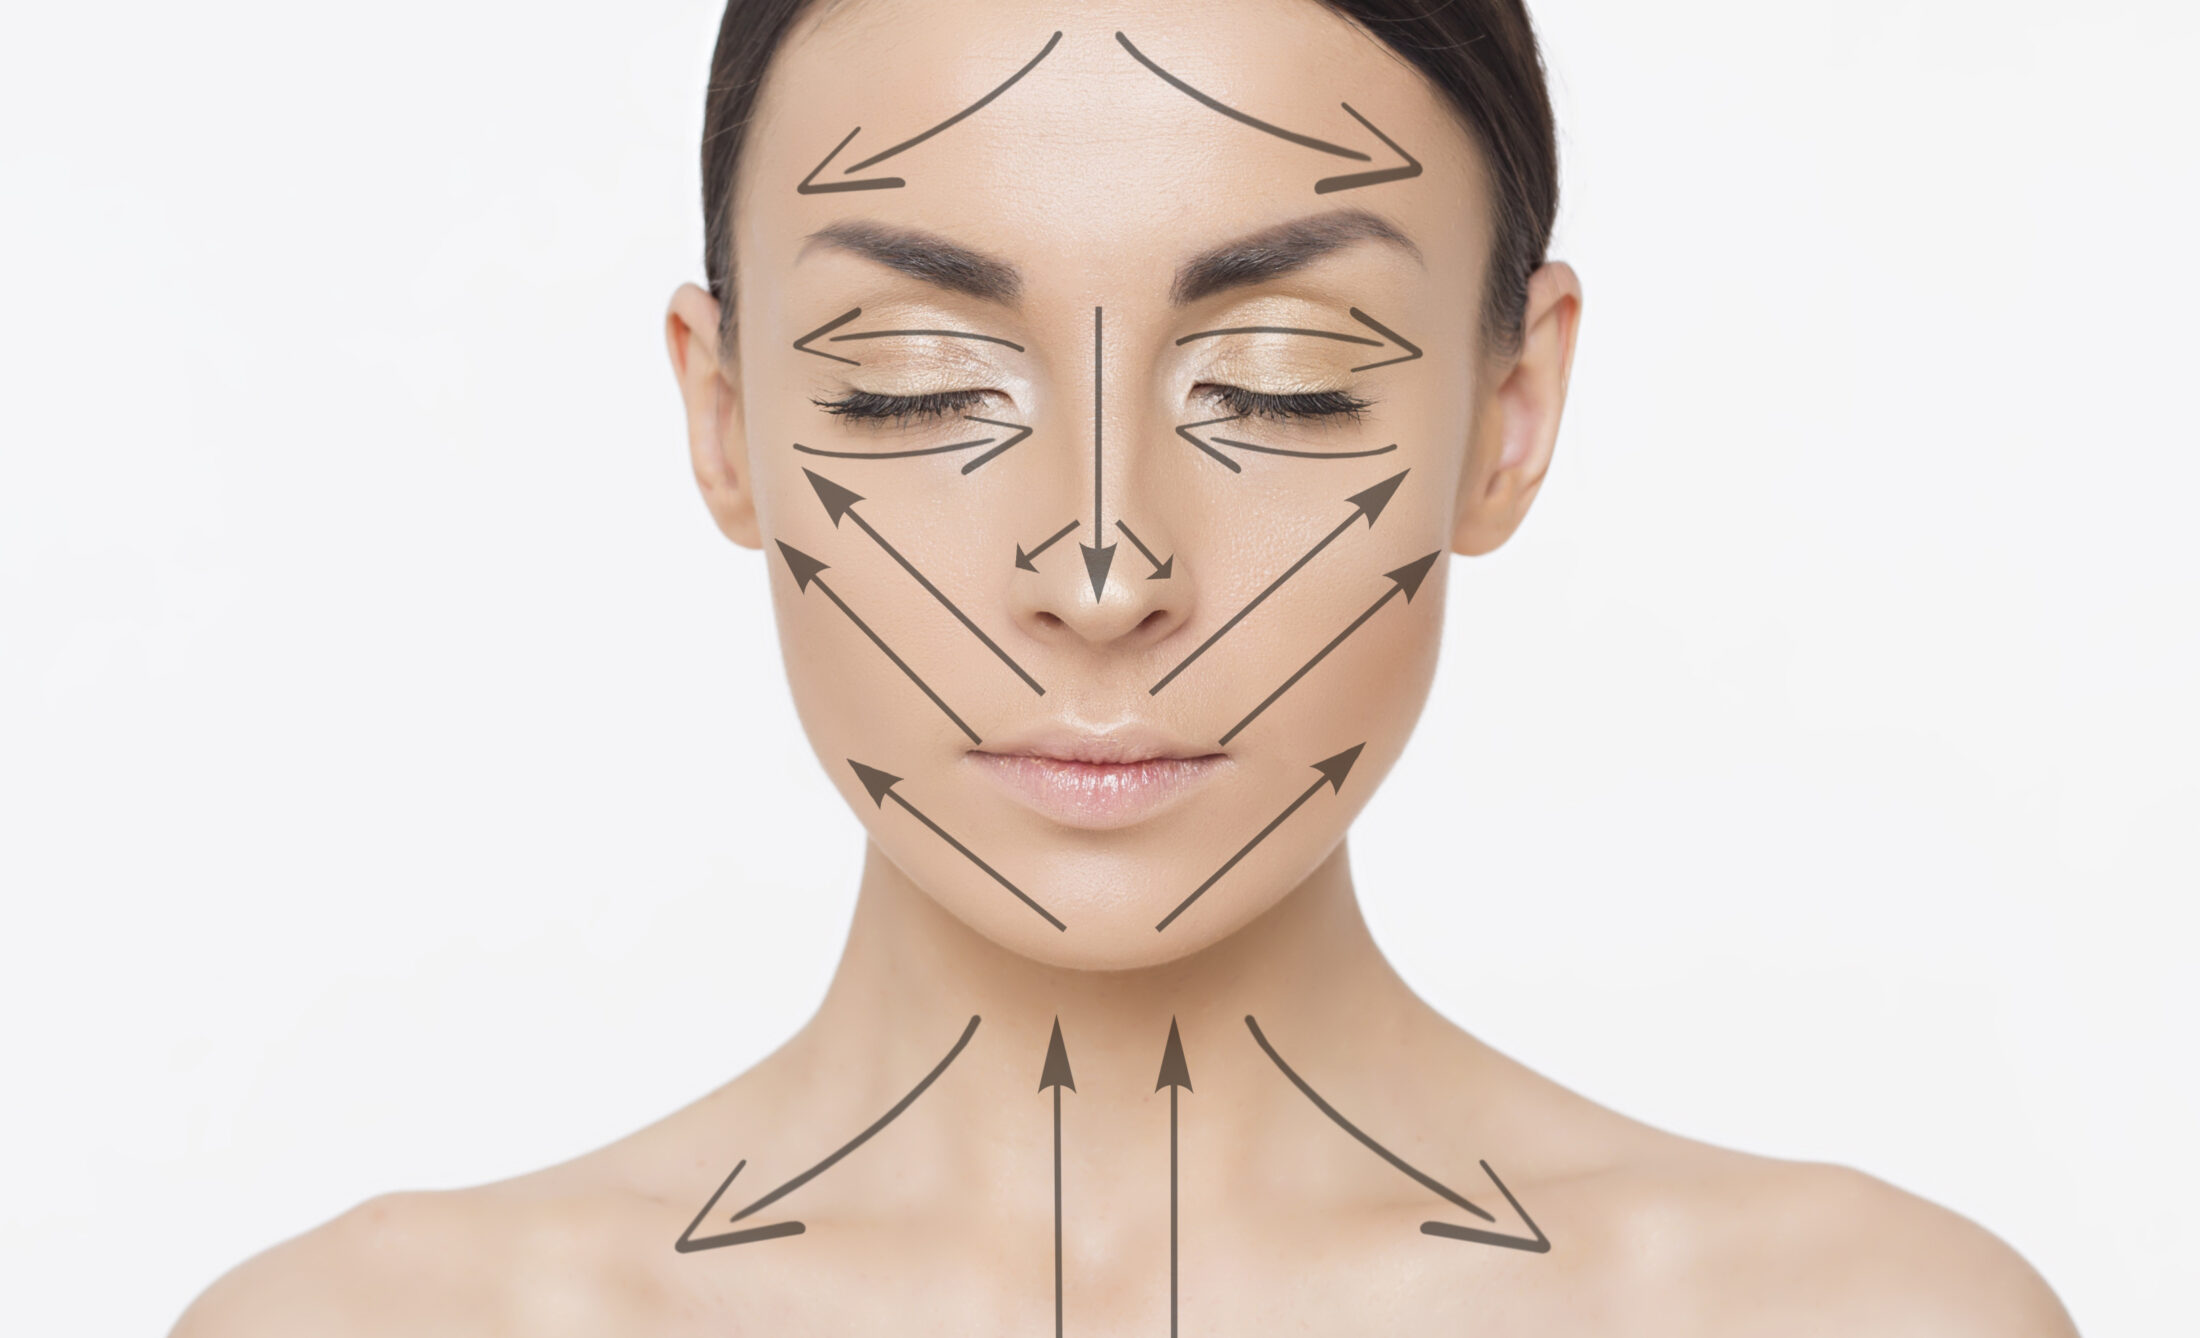
- Start from your forehead to target any forehead wrinkles. Holding the gua sha tool at the center of your forehead in a vertical position, begin to sweep from the middle following the directions on the facial massage chart above. Follow these motions about 3-5 times.
- Proceed to your eye area to help target puffy eyes and fluid retention there. Remember to focus on gentle gliding movements as much as possible around this sensitive area! If you feel that the tool is starting to drag or pull your skin, add some more facial oil. Repeat the sweeping motions up to 3-5 times.
- When targeting your cheeks and around your mouth or chin, remember to stick to upwards brushing motions as if you were performing your own face lift. It’s better to perform the correct motions rather than to overdo it the wrong way!
- Focus on upward motions for the center of your neck, while using downward motions for your collarbones to focus on lymph drainage from your face.
- Follow the facial massage map to finish your whole face and neck, using as light pressure as possible. Feel free to start again at the top of your face, 10 strokes maximum in each area will be more than enough.
- Perform your gua sha facial up to a few times every week for the perfect relaxation session.
As with any exciting new beauty trend, we know you’re excited to jump straight into it and adopt it into your everyday routine. But remember to take things slow and easy at first until you perfect your gua sha technique. Combined with clean beauty skin care formulas, regular exercise and sleep, and a balanced diet, you’ll be able to achieve that spa experience right at home. Because only you know how to best take care of yourself.