Expert Tips and Techniques to Enhance Your Features
Contouring has become one of the most popular makeup techniques in recent years, thanks to its ability to sculpt and define the face. But for beginners, contouring can be intimidating. In this blog post, we’ll share a beginner’s guide to contouring, including tips and tricks to help you achieve a flawless, sculpted look.
What is Contouring?
Contouring is a makeup technique that involves using darker shades to create shadows and lighter shades to highlight and define the face. The goal of contouring is to create the illusion of a more sculpted, defined face by emphasizing certain features and minimizing others.
Step 1: Choose the Right Products
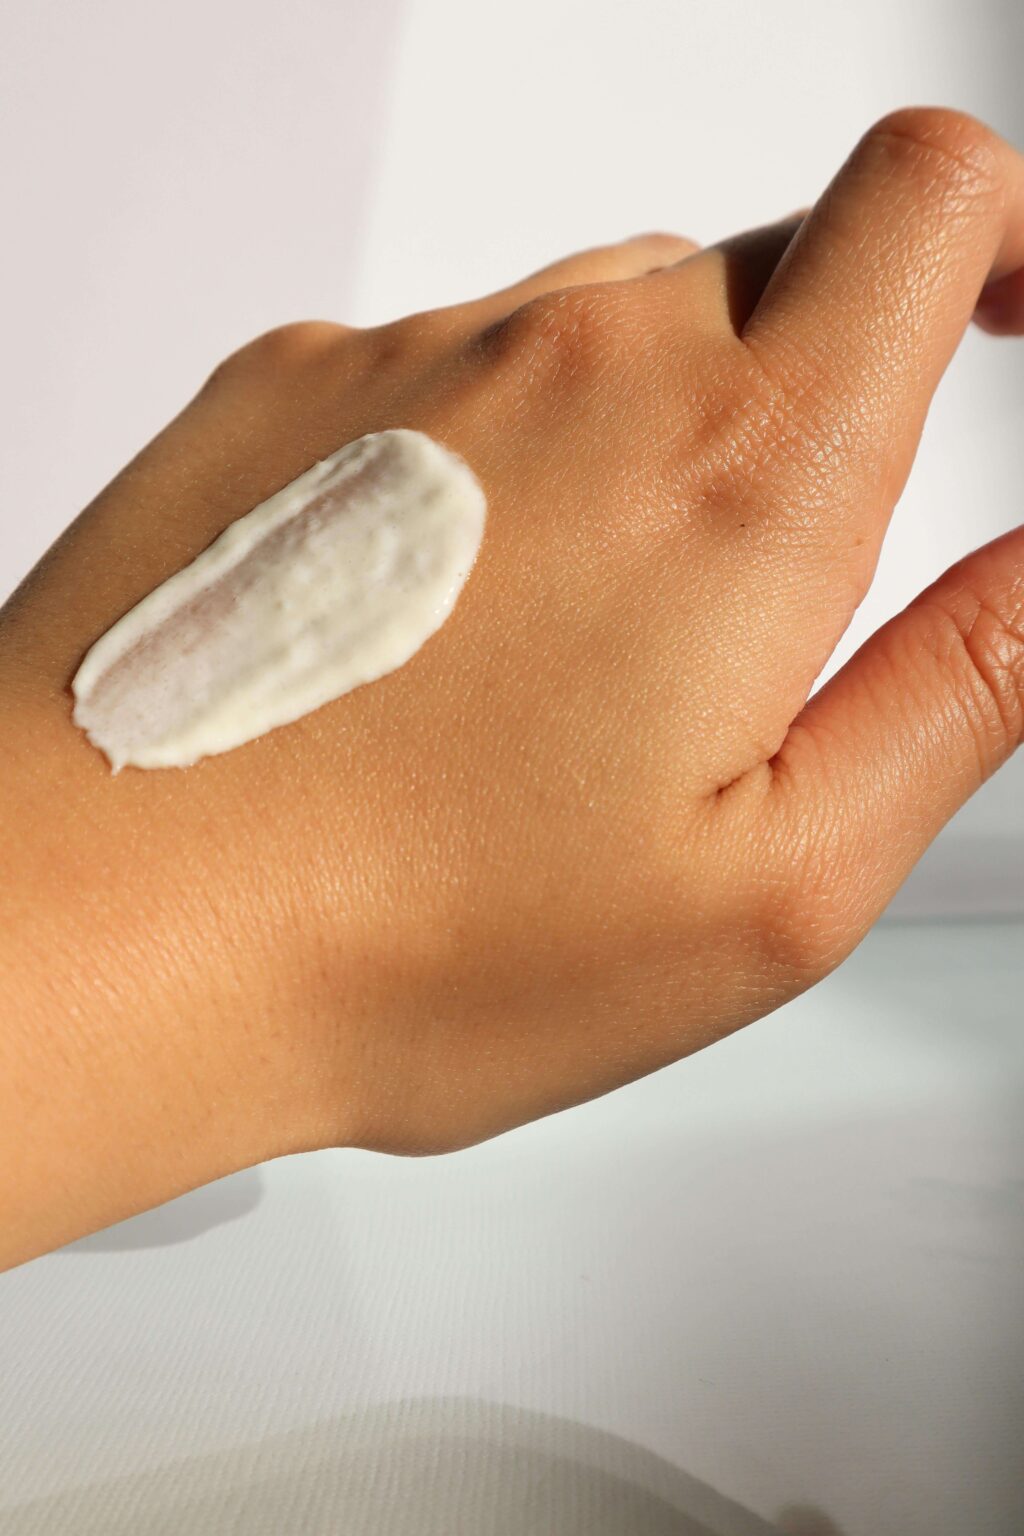
To get started with contouring, you’ll need the right products. You’ll need a contour powder or cream in a shade that’s about two shades darker than your natural skin tone, as well as a highlighting powder or cream in a shade that’s about two shades lighter than your skin tone. You’ll also need a blending brush and a smaller brush for more precise application.
Step 2: Identify Your Face Shape
Before you begin contouring, it’s important to identify your face shape. There are four basic face shapes: oval, round, square, and heart-shaped. Each face shape requires slightly different contouring techniques to achieve the most flattering results.

- Oval: An oval face shape is generally considered the most balanced, with a slightly wider forehead and cheekbones that taper down to a narrow chin. For an oval face, contour along the cheekbones and jawline to create more definition.
- Round: A round face shape is characterized by fullness in the cheeks and a rounded chin. To contour a round face, apply contour along the temples, under the cheekbones, and along the jawline to create a more angular, defined look.
- Square: A square face shape has a strong, angular jawline and forehead. To contour a square face, focus on softening the angles by applying contour along the hairline, temples, and jawline.
- Heart-shaped: A heart-shaped face is wider at the forehead and tapers down to a narrower chin. To contour a heart-shaped face, focus on creating balance by applying contour along the hairline and temples, and under the cheekbones.
Step 3: Apply Contour
Once you’ve identified your face shape, it’s time to start contouring. Using your smaller brush, apply the contour powder or cream along the areas you want to define and create shadows. This typically includes the cheekbones, temples, and jawline. Be sure to blend well with your blending brush to avoid harsh lines.
Step 4: Apply Highlighter
After you’ve applied contour, it’s time to apply highlighter to bring out the areas you want to emphasize. This typically includes the tops of the cheekbones, the bridge of the nose, and the cupid’s bow. Use your smaller brush to apply the highlighter powder or cream in a thin, even layer.
Step 5: Blend, Blend, Blend
The key to achieving a flawless, natural-looking contour is blending. Use your blending brush to blend the contour and highlighter together, working in circular motions to avoid harsh lines. Be sure to blend the edges of the contour to avoid any visible lines.
Tips and Tricks for Contouring
- Don’t go too dark: It’s important to choose a contour shade that’s only a few shades darker than your natural skin tone. Going too dark can create an unnatural, muddy look.
- Less is more: When it comes to contouring, less is often more. It’s better to start with a light hand and build up as needed, rather than applying too much product at once.
- Use a light hand: When applying contour and highlighter, use a light hand to avoid creating harsh lines or an unnatural look. Remember, it’s easier to add more product than it is to remove it. Start with a small amount of product and build up as needed.
- Blend, blend, blend: Blending is the key to achieving a natural-looking contour. Use a blending brush to blend the contour and highlighter together, working in circular motions to avoid harsh lines. Be sure to blend the edges of the contour to avoid any visible lines.
- Don’t forget your neck: When contouring your face, be sure to blend the product down your neck to avoid a noticeable line of demarcation. This is especially important if you’re wearing a low-cut top or dress.


- Use the right tools: Using the right brushes can make all the difference when it comes to contouring. Invest in a high-quality blending brush and a smaller brush for more precise application.
- Experiment with different products: Contouring doesn’t have to be limited to powders and creams. You can also use liquid or stick products, depending on your preference and skin type. Don’t be afraid to experiment with different products to find what works best for you.
- Practice makes perfect: Contouring takes practice, so don’t be discouraged if your first few attempts don’t turn out perfectly. Keep practicing and experimenting with different techniques until you find what works best for you.
In conclusion, contouring can seem intimidating at first, but with the right products, techniques, and tools, anyone can master this popular makeup trend. Remember to choose the right products, identify your face shape, use a light hand, blend well, and experiment with different techniques and products until you find what works best for you. With these tips and tricks, you’ll be able to sculpt and define your face like a pro in no time!